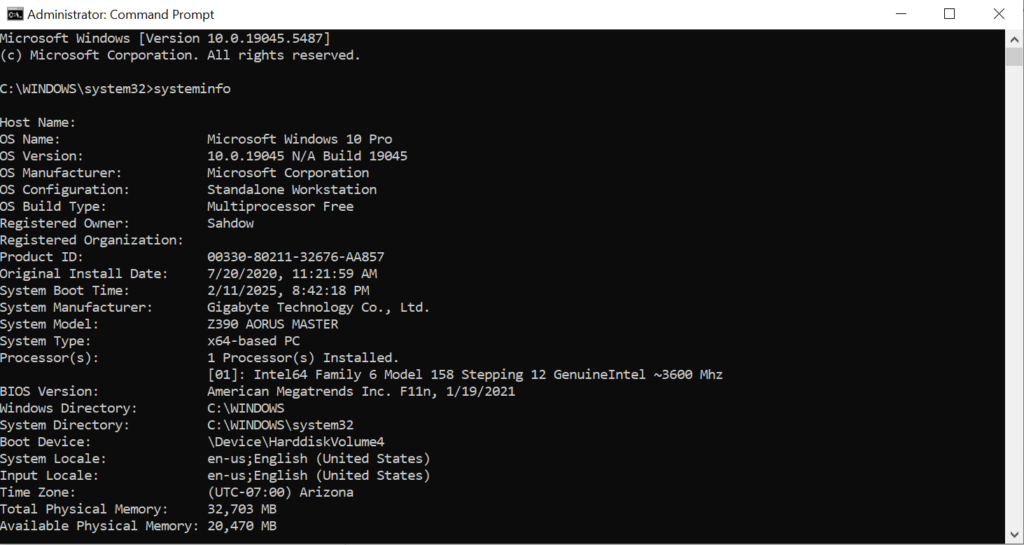
When you need to manage disk partitions but Windows Disk Management won’t let you modify partitions you can use Command Prompt to do it.
To manage disk partitions using Command Prompt in Windows, you can use the DiskPart utility, which provides a text-based interface for partitioning and managing disks. Here’s a step-by-step guide:
1 Open DiskPart
Open Command Prompt as Administrator.
Type diskpart and press Enter. This will launch the DiskPart utility.
2 List Disks
To view all disks connected to your system, type:
list diskThis command will show each disk with a number (e.g., Disk 0, Disk 1).
3 Select a Disk
Choose the disk you want to manage by typing:
select disk XReplace X with the disk number from the previous step (e.g., select disk 0).
4 List Partitions
To view all partitions on the selected disk, type:
list partition5 Select a Partition
If you want to modify a specific partition, select it by typing:
select partition YReplace Y with the partition number you want to work with.
6 Manage Partitions
Now that you’ve selected a partition, you can perform various actions:
Create a Partition:
create partition primary size=XXXXReplace XXXX with the size in megabytes (MB).
Delete a Partition:
delete partitionFormat a Partition:
format fs=ntfs quickReplace ntfs with fat32 or another file system type if needed.
Assign a Drive Letter:
assign letter=XReplace X with the letter you want to assign.
Shrink a Partition:
shrink desired=XXXXReplace XXXX with the amount in megabytes you want to shrink.
7 Exit DiskPart
When finished, type:
ExitThis will exit DiskPart and return you to the regular Command Prompt.
Caution: DiskPart actions are often irreversible and can result in data loss if not used carefully. Always back up your data before modifying disk partitions.
Command Variations
Depending on the type of partition, you can add optional parameters to ensure you delete specific kinds of partitions:
1 Delete a Standard Partition:
delete partitionThis will delete the partition you selected with the select partition command.
2 Delete an Override Partition:
delete partition overrideThe override parameter forces DiskPart to delete the partition even if it’s a protected, system, or OEM partition. Use this option with caution, as it can remove critical partitions.
3 Delete a Volume Partition by Number:
select volume X
delete partition
Replace X with the volume number. First, select the volume associated with the partition and then use delete partition to delete it.
Example Commands:
Delete the currently selected partition:
select disk 1
select partition 2
delete partition
Delete a protected partition using override:
select disk 0
select partition 1
delete partition overrideWarning: Deleting a partition will permanently remove all data on it. Ensure you’re working on the correct partition and that you’ve backed up any important data.
Share Your Two Cents