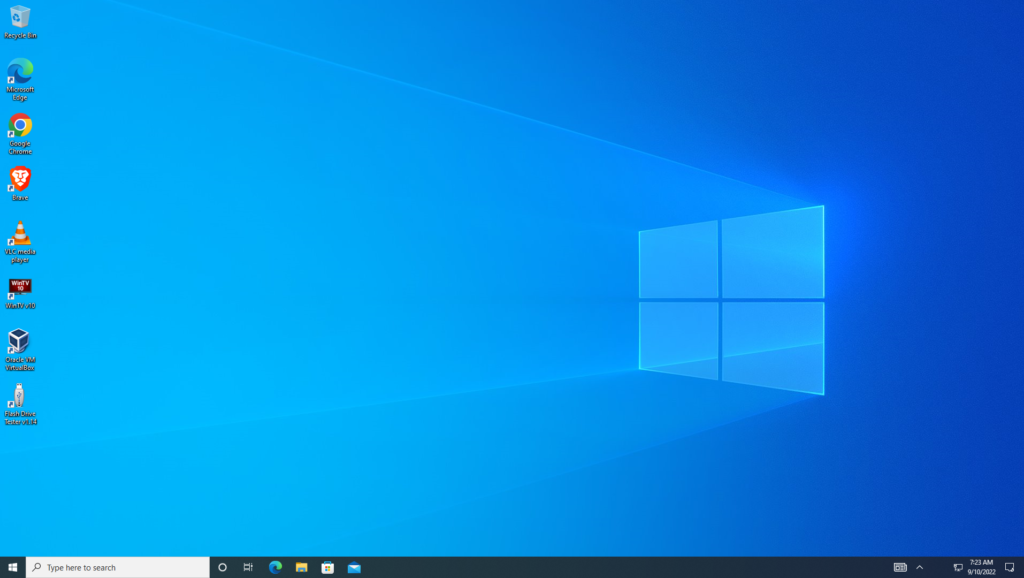
I went to download the latest technical preview build of Windows 10 yesterday and discovered it’s already been released!
The great thing about Windows 10 is it’s free for the life of the product (as long as they continue to update it) if you have Windows 7 or Windows 8. But there is a catch, you have to upgrade within 1 year of the Windows 10 release. After that you will have to purchase it but even that’s not a bad deal. For a new O/S it’s cheap $119.
So, having tested it out on a spare system for a few months, I decided to give it a try on a production system. The upgrade process was a little confusing at first, but after it got going it was a snap and the best part – not only was it a fast upgrade it kept all of my Windows 7 settings and customizations!
Basically, this was one of the most flawless Windows upgrades I’ve encountered since using Windows Millenium to upgrade Win 98 SE.
Enough gushing, here’s what you need to know about upgrading to Windows 10:
Go to Microsoft’s website and download the media creation tool. Once downloaded, run it and choose your options (no need for a tutorial – it’s that easy – but if you want one, here you go – Upgrading to Windows 10 Free Edition); either start the upgrade or create an upgrade disk/flash drive for another computer.
I choose to create a flash drive (for my other systems) and then ran the media creation tool again and did the upgrade.
The media creation tool downloads windows in the background so you can keep working. Once downloaded it you can start the upgrade process; took less than half an hour on my system.
Earlier I mentioned “The upgrade process was a little confusing at first” – here’s the trick., skip the step asking for your key. It will not accept the key from your prior version of Windows. During the installation process Windows 10 will recognize your upgrade qualified, installed version of Windows and create it’s own key then activate itself.
Share Your Two Cents